I thought I'd go through the creation step-by-step so you can make your own with whatever ribbon and mesh you want. Fair warning - picture overload is about to commence.
And for your inspiration, some classic Christmas MUSICA .
(Just click on the word "MUSICA" above to hear it.)
First, gather all your supplies. For this project I have a green double-ringed wreath, a roll of mesh, a roll of a neat little wired twine ribbon that had little open squares in it, a roll of wired polka-dot ribbon, a letter F, some 1/4" white ribbon, and paint (not pictured). (Please note that although there is some greenery in the picture, I later chose not to use it for the wreath.)


Knowing I was going to use 12-inch strips of mesh, I measured 12 inches on my arm. I know...so strange. But I prefer using my arm as I make the wreath instead of having to grab a ruler to make sure I have the same lengths in each section. You can use a ruler if you prefer.


Then I folded each corner of the mesh in until I got a little point at the end.

Laying the mesh on the wreath, I twisted two of the branches on the outer ring of the wreath so I could tie the mesh to the wreath, leaving a little bit of a tail.

Because I like to ensure the mesh is extra secure, I folded the tail back over the top and secured it again by twisting the branches around it.


The spacing between each "tie-down" for the mesh is about 6 inches. Since I like to use my hands, instead of the ruler, I set my hand down on the table and behold - it measured 6 inches! How cool is that?


I secured the end with branches, pulling some of the end through the wreath to the underside so it wouldn't show in the front of the wreath. Then I secured the end piece to the back of the wreath by twisting two branches around it, folded it over like I did at the start of the wreath, and tied it again. You can see the outer ring completed.


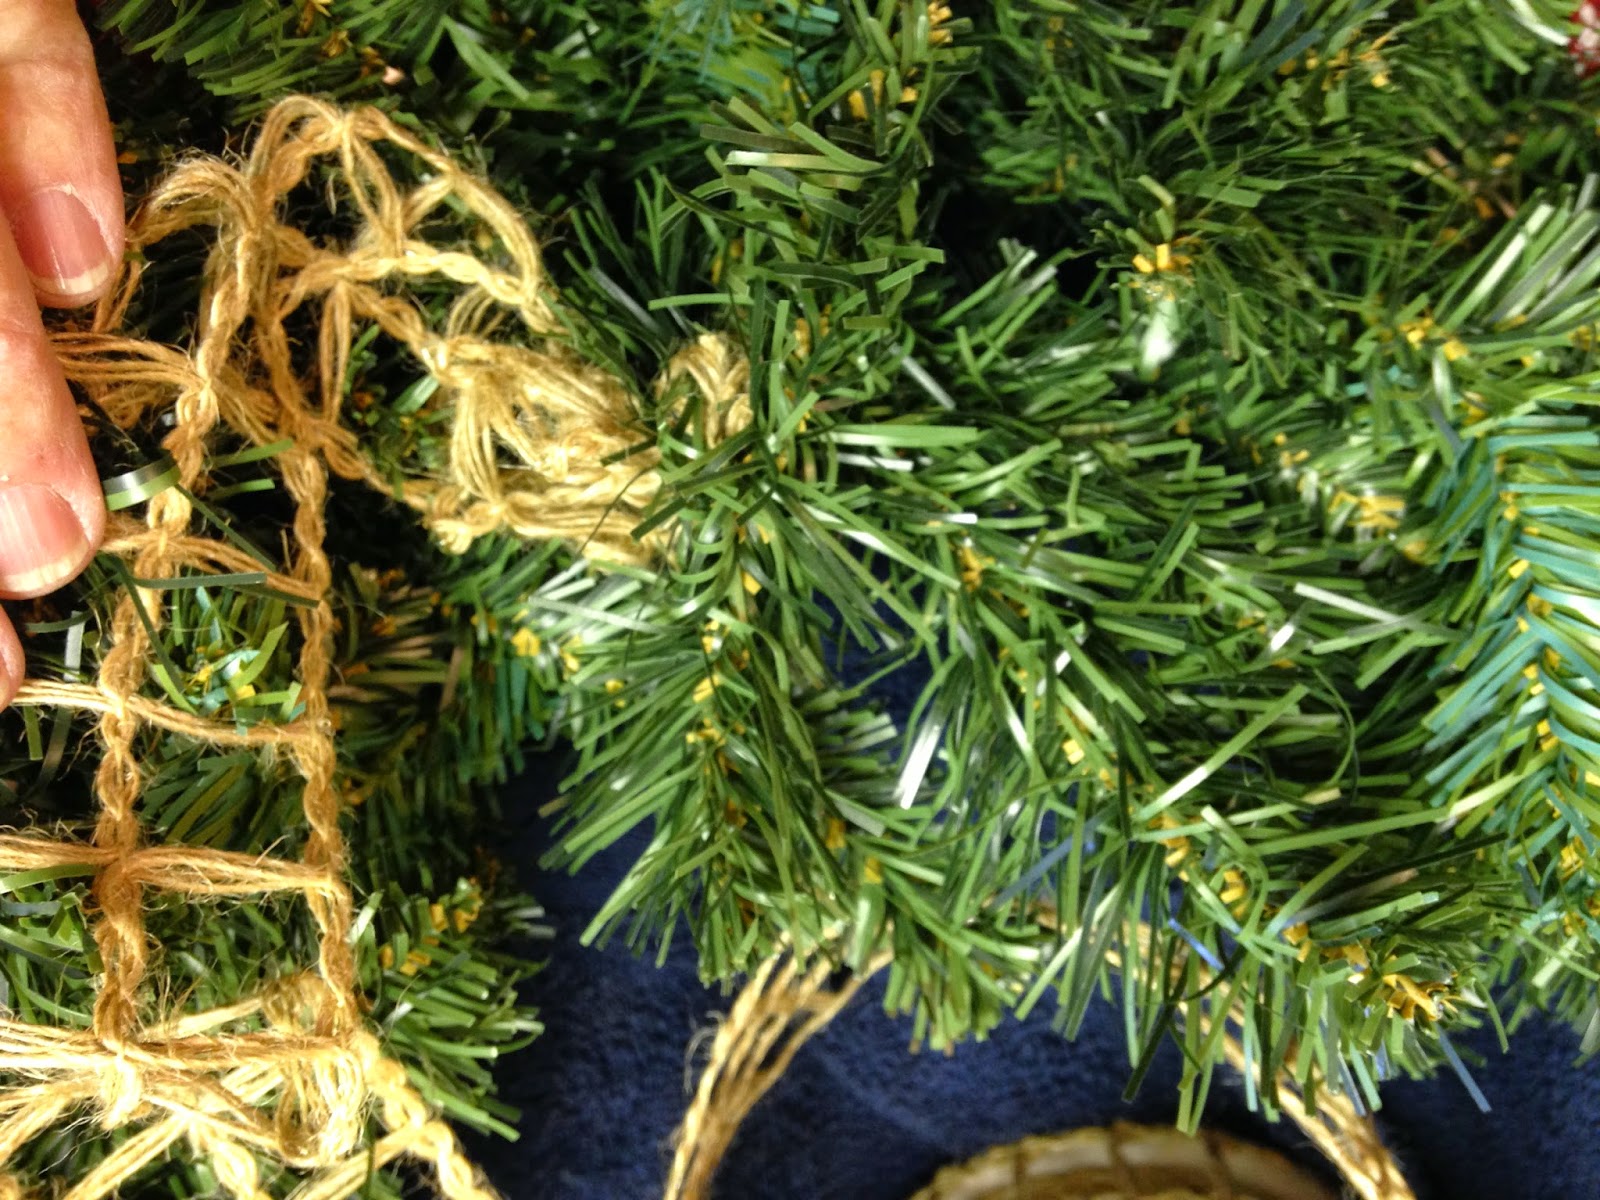
The next step was to secure the wired twine ribbon in the same manner to the inside ring of the wreath. For this, I kept the roll inside the center so I didn't have to wrestle with the mesh already on the wreath. It made it so much easier!


I folded the end of the ribbon under itself and twisted two branches over it.


Then I folded it over again, and twisted the branches over it again, just like I did with the mesh.

Starting in the center of one of the mesh bunches, I used the same 12-inch length for the ribbon, and secured it in the same 6-inch spaces, like I did the mesh. This is what it looked like when it was finished.

In the next step I made five bows with the rest of the wired twine ribbon, and five bows with the wired polka dot ribbon. I used the 1/4-inch white ribbon to hold the shape of the bows. You can use floral wire, ribbon, or whatever you prefer.


Placing one of each of the twine bows at the bottom of the wreath, I spaced the remaining four at an equal distance apart on the outside ring of the wreath. I tied them on by twisting two branches over the center. Then I did the same with the polka dot bows. When I was done with all of that, I fluffed the bows and ribbon until I liked the look of the wreath. I tucked the ends of all the tails around the mesh to create what looked like flowing ribbon, but left the tails of the bottom bows out.


While the wreath looks fine this way, I wanted to personalize it. Because I had to wait for the paint to dry between applications, this was probably the most lengthy process of the wreath. Crazy, huh?
I always have newspaper available to use to protect the surface I'm painting on, and used a roll of tape with the plastic bag the newspaper came in to raise the letter up, making it easier to paint. I removed the tag and had my husband drill holes in the top of the letter an equal distance from the edge.

While I could have done this, I thought it would be nice to help him feel a part of making the wreath, and this allowed him to say "I helped make that wreath". Hey - it's important to include the spouse when you can, right? I painted on a layer of Kilz on both sides of the letter to seal the wood, and let it dry.

While you can't see it because I forgot to take a picture of it, I painted the back and outer edge of the letter dark brown. You can see the color on the newspaper below. I let that dry. As you can see - I'm a very messy painter, hence the need for the newspaper. After it was dry, I painted the front of the letter a dark green that matched the wreath. When the paint was dry, I used glitter glue to outline the letter.

Using regular twine, I threaded it through the holes, tying knots in the front, allowing the rest to use in the back. I then attached the letter to the wreath, using a zip tie around the twine and the metal wreath form in the back. Then I used another zip tie to create a strong loop to hang the wreath. You can barely see the clipped zip tie to the left of the loop in the picture below.


I separated the two rings of branches on the wreath and pulled all the little branches straight so I could easily see where they are. This makes it easier to use in securing the ribbon, mesh, or whatever else you need.
Knowing I was going to use 12-inch strips of mesh, I measured 12 inches on my arm. I know...so strange. But I prefer using my arm as I make the wreath instead of having to grab a ruler to make sure I have the same lengths in each section. You can use a ruler if you prefer.
Then I folded each corner of the mesh in until I got a little point at the end.
Laying the mesh on the wreath, I twisted two of the branches on the outer ring of the wreath so I could tie the mesh to the wreath, leaving a little bit of a tail.
Because I like to ensure the mesh is extra secure, I folded the tail back over the top and secured it again by twisting the branches around it.
The spacing between each "tie-down" for the mesh is about 6 inches. Since I like to use my hands, instead of the ruler, I set my hand down on the table and behold - it measured 6 inches! How cool is that?
After finding the spot 6 inches above where I previously secured the mesh, I measured a strip of mesh 12 inches long. Folding the length in on itself so the sides met in the middle, I then twisted two of the branches on the outside ring again to secure the new section.
I did this all the way around the outside of the wreath.
When I got to the end of the wreath, I cut the mesh at about 16 inches in length. Then I rolled the bottom up and folded it in on itself like I did when I started the wreath.
I secured the end with branches, pulling some of the end through the wreath to the underside so it wouldn't show in the front of the wreath. Then I secured the end piece to the back of the wreath by twisting two branches around it, folded it over like I did at the start of the wreath, and tied it again. You can see the outer ring completed.
The next step was to secure the wired twine ribbon in the same manner to the inside ring of the wreath. For this, I kept the roll inside the center so I didn't have to wrestle with the mesh already on the wreath. It made it so much easier!
I folded the end of the ribbon under itself and twisted two branches over it.
Then I folded it over again, and twisted the branches over it again, just like I did with the mesh.
Starting in the center of one of the mesh bunches, I used the same 12-inch length for the ribbon, and secured it in the same 6-inch spaces, like I did the mesh. This is what it looked like when it was finished.
In the next step I made five bows with the rest of the wired twine ribbon, and five bows with the wired polka dot ribbon. I used the 1/4-inch white ribbon to hold the shape of the bows. You can use floral wire, ribbon, or whatever you prefer.
Placing one of each of the twine bows at the bottom of the wreath, I spaced the remaining four at an equal distance apart on the outside ring of the wreath. I tied them on by twisting two branches over the center. Then I did the same with the polka dot bows. When I was done with all of that, I fluffed the bows and ribbon until I liked the look of the wreath. I tucked the ends of all the tails around the mesh to create what looked like flowing ribbon, but left the tails of the bottom bows out.
While the wreath looks fine this way, I wanted to personalize it. Because I had to wait for the paint to dry between applications, this was probably the most lengthy process of the wreath. Crazy, huh?
I always have newspaper available to use to protect the surface I'm painting on, and used a roll of tape with the plastic bag the newspaper came in to raise the letter up, making it easier to paint. I removed the tag and had my husband drill holes in the top of the letter an equal distance from the edge.
While I could have done this, I thought it would be nice to help him feel a part of making the wreath, and this allowed him to say "I helped make that wreath". Hey - it's important to include the spouse when you can, right? I painted on a layer of Kilz on both sides of the letter to seal the wood, and let it dry.
While you can't see it because I forgot to take a picture of it, I painted the back and outer edge of the letter dark brown. You can see the color on the newspaper below. I let that dry. As you can see - I'm a very messy painter, hence the need for the newspaper. After it was dry, I painted the front of the letter a dark green that matched the wreath. When the paint was dry, I used glitter glue to outline the letter.
Using regular twine, I threaded it through the holes, tying knots in the front, allowing the rest to use in the back. I then attached the letter to the wreath, using a zip tie around the twine and the metal wreath form in the back. Then I used another zip tie to create a strong loop to hang the wreath. You can barely see the clipped zip tie to the left of the loop in the picture below.
And...voila! Christmas wreath complete. Now get out there and make your own!
Love and hugs to you all!